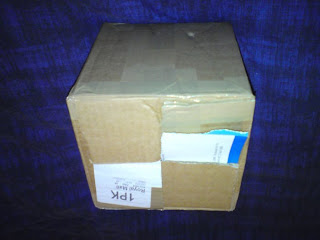
Ok the bits have begun to arrive, so lets get the box open, get down to wickes and see what we've got....
First of all, I guess i'll need a mask to protect my weedy lungs from the poisonous MDF dust, did anyone else know it was toxic, nope me neither, oops..
Got me some connector blocks, these will be used to connect the 360 controller guts to the arcade stick and buttons, as you'll see later!!

Wires and crimps for connecting to the microswitches on the arcade bits, the non crimped ends will go into the connector blocks..

Check out my balls.. ok ball, this is the handle for the stick, as my stick will be white and red, i'm going for a red ball..

A couple of mini buttons for the pad, i'm going to use these for the back and start buttons, they'll be seperated by a proper Guide button which i'll rip from the madcatz and bodge together somehow..

I decided to get a proper arcade cradle/cable to connect the stick properly, as it has a pin out connector it makes sense to use one of these rather than hard wiring it....

A couple of mini buttons for the pad, i'm going to use these for the back and start buttons, they'll be seperated by a proper Guide button which i'll rip from the madcatz and bodge together somehow..

I decided to get a proper arcade cradle/cable to connect the stick properly, as it has a pin out connector it makes sense to use one of these rather than hard wiring it....
And the Buttons for the controller, i was going to go with all white, or all red, but then at the last minute decided to copy the xbox style colours A.B.X.Y shoulders etc, its going to be a 360 stick after all so i might as well try to emulate the styling as much as possible..
Finally, the mother of all sticks, the Sanwa itself, smooooooooth...


1 comments:
I can't believe I'm reading all of this... You should have your own bloody show on Discovery Home & Leisure.
Post a Comment